HIV Self-Testing at Home: Blood-Based vs Oral (Saliva) Tests
Testing for HIV yourself at home — an HIV self-test — is growing in popularity for its convenience and privacy. You can test at home without going to a facility, which suits those who value privacy or aren’t ready for a clinic. The common self-tests are of two main types: a fingerstick blood test and an oral-fluid (gum-swab) test many people call the “saliva” test.
This article covers how the two differ, who each suits, how to use them accurately, how accurate they are, and what to do after your result. It draws on WHO, U.S. CDC, and Thai Department of Disease Control guidance. See the overview at HIV testing.
What is an HIV self-test?
An HIV self-test is designed for anyone to use at home without a health worker collecting the sample or reading the result. Most detect HIV antibodies and give a result in minutes. Understand from the start: a self-test is screening, not a final diagnosis — an abnormal result must be confirmed at a facility. See the stages of HIV.
Types: blood-based vs oral (saliva)
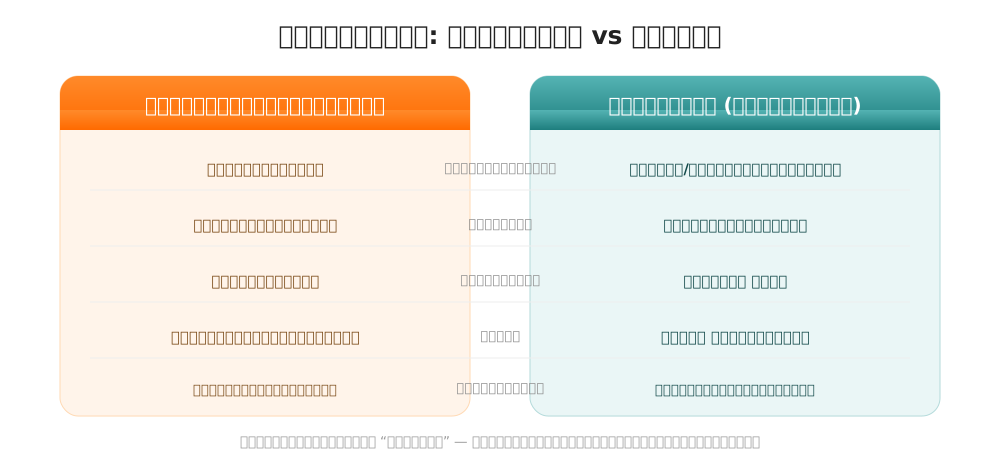
| Feature | Fingerstick blood | Oral fluid (gum swab) |
|---|---|---|
| Sample | A small drop of fingertip blood | Fluid from the gums |
| Collection | A lancet prick | Swab the upper/lower gums |
| Sensation | Mildly uncomfortable | Painless, easy |
| Strength | May detect slightly sooner | Convenient, no needle |
| Caution | Must prick/drop correctly | May detect slightly later |
Both are reliable screens when used correctly at the right time; the main difference is convenience and how collection feels.
Who each suits
- Fingerstick blood suits those who don’t mind a needle and want possibly slightly earlier detection.
- Oral fluid suits those who fear needles or want the easiest, needle-free option.
How to use a self-test accurately
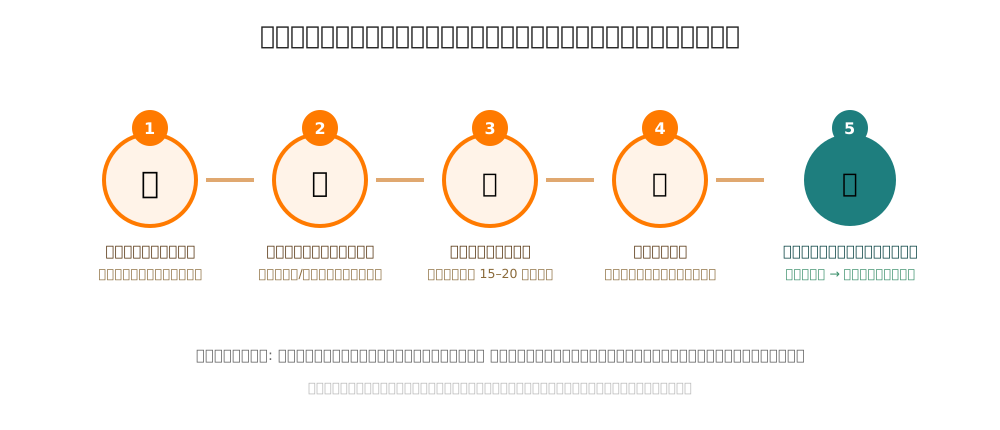
- Read the instructions first.
- Collect the sample correctly — blood or gum swab as directed.
- Wait the stated time — usually 15–20 minutes.
- Read within the window — too early or late can mislead.
- Confirm if needed — an abnormal result goes to a facility.
Also check the expiry date and store the kit as advised, since heat or humidity can affect accuracy.
Accuracy and the window period
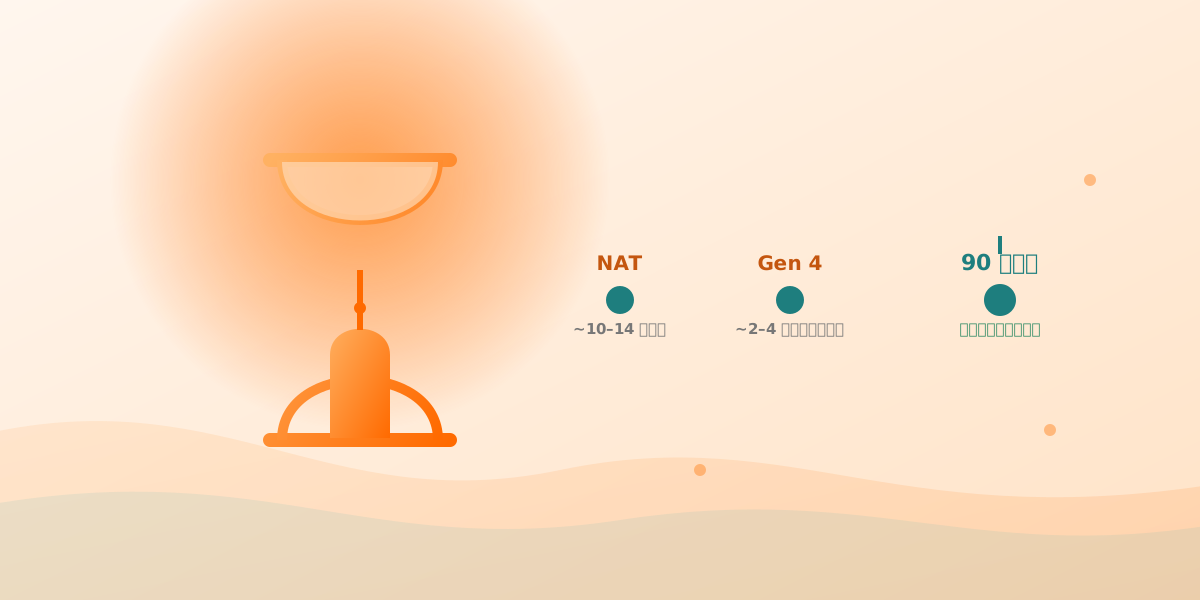
Most self-tests detect antibodies, so the window period applies just as with clinic antibody testing: it may take weeks to about 3 months after a risk to be reliable, and testing too early can give a false negative. Confirm at 90 days for certainty. So an early negative isn’t conclusive — use the test date calculator to see when it’s reliable.
What to do after your result
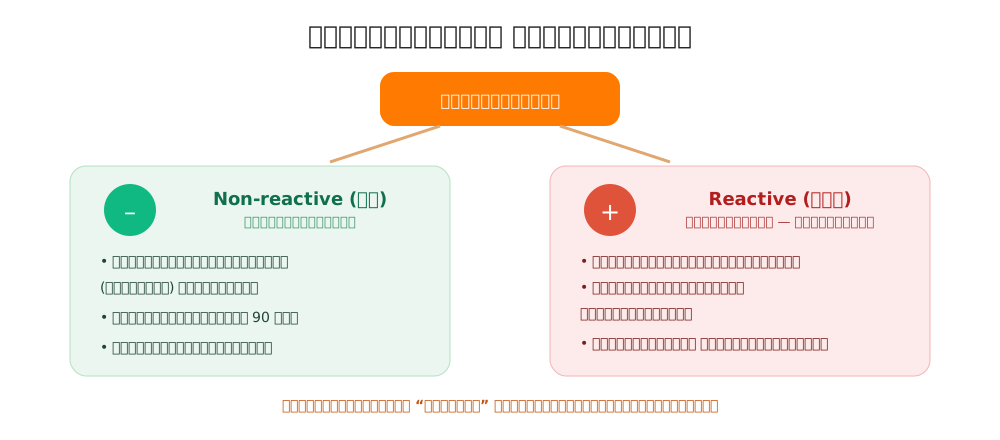
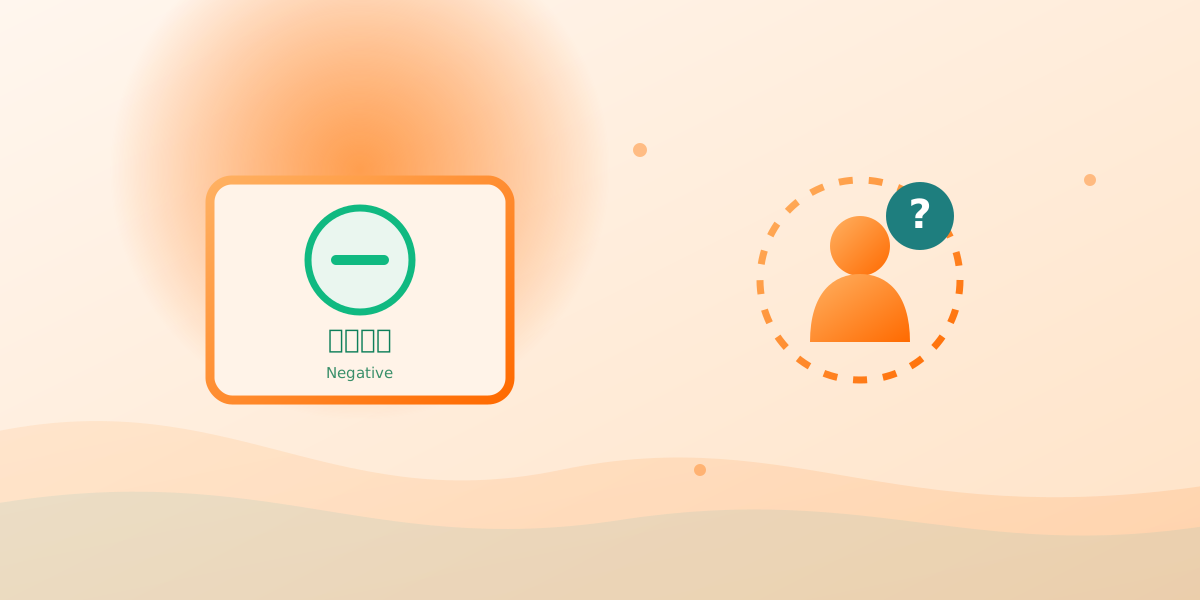
- Non-reactive (negative): if tested early, retest and confirm at 90 days, and keep protecting yourself.
- Reactive (positive): not certain infection, but always confirm at a facility; once confirmed, care can start right away.
A reactive self-test is a “signal to follow up,” not a final verdict — don’t panic; see a provider to confirm and get advice.
Pros and limits of self-testing
- Pros: convenient, private, quick, and a good start for those not ready for a clinic.
- Limits: a screen needing confirmation, the window period applies, misuse can mislead, and no counsellor is present.
Where to buy and how to choose
- Choose a certified kit for reliability.
- Check the expiry date and packaging.
- Pick blood or oral to match your comfort.
- Ask a pharmacist or health worker if unsure.
Clinic testing also offers confirmation and counselling in one place; see types of HIV test.
Common myths about self-testing
Several misconceptions can lead to misreading a result:
- “A negative right after a risk means I’m safe” — false; the window period means early testing can miss infection.
- “A positive self-test means I definitely have HIV” — false; it’s a screen that needs confirmation.
- “Self-testing fully replaces clinic testing” — false; it’s screening, not a final diagnosis.
- “One test is always enough” — false; if tested in the window period, retest and confirm at 90 days.
Understanding these lets you use a self-test correctly — neither careless nor panicked — and know when to confirm or seek advice.
If exposed within 72 hours
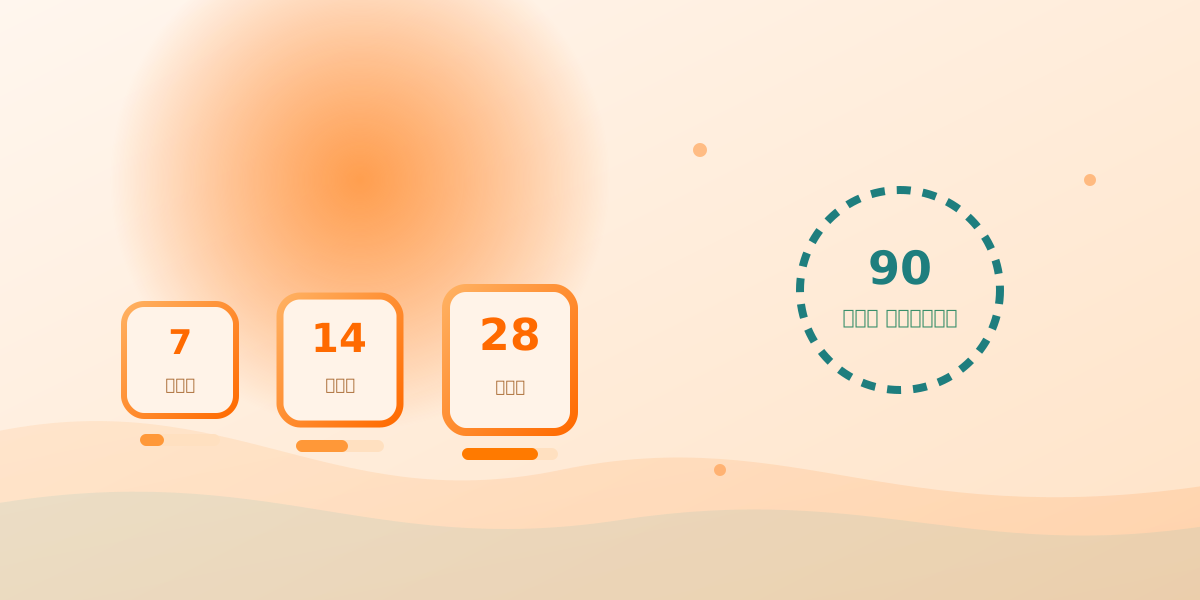
If you’ve had a high risk within 72 hours, don’t rely on testing alone — seek PEP, an emergency medication that lowers the chance of infection, started within 72 hours and taken for 28 days, then plan testing.
Conclusion
Home HIV self-tests come in two main types — fingerstick blood and oral fluid (saliva) — both convenient and private, differing mainly in how collection feels. Use them correctly, understand the window period, and know a self-test is a screen; a positive must be confirmed at a facility. Confirm at 90 days, and if within 72 hours, ask about PEP first. Start at the calculator and see options at HIV testing.